Portals is a new feature which allows you to share select information from your Info Collection forms with specified users.
For example, you might want to set up a press portal to give press contacts access to copy, images and performance dates. Or maybe you want to restrict what your venues can access about events but still give them key information. Portals means you can share exactly what you need to with multiple groups of users.
Here’s how to set up a Portal:
First things first, ask Eventotron to activate the Portal feature for you.
It will then appear as a tab in your management dashboard
Click +Create a new portal
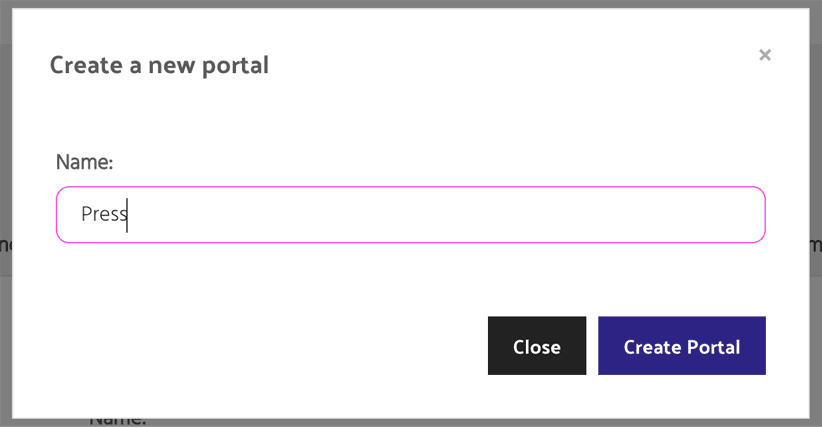
Give the portal a name (for example Press)
Hit Create Portal
Options
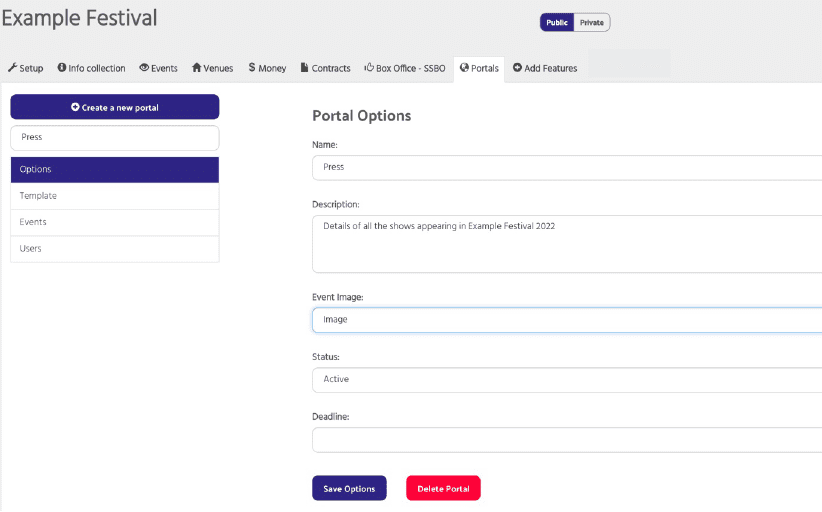
Here you can change the name of the portal at any time
Give the portal a description – this appears for the users you invite in.
Event Image – select Image if you would like to show the event image in the listing
Status – choose Active, Read-only or Closed
Deadline – input a deadline if you need to.
Click save options.
Template
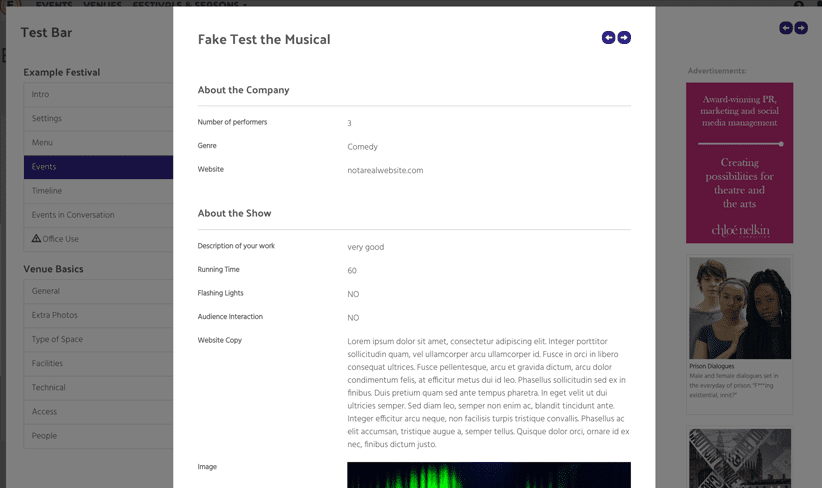
The portal template is where you add event fields you want the portal users to have access to from your Info Collection forms.
To start building, click Add Event Fields
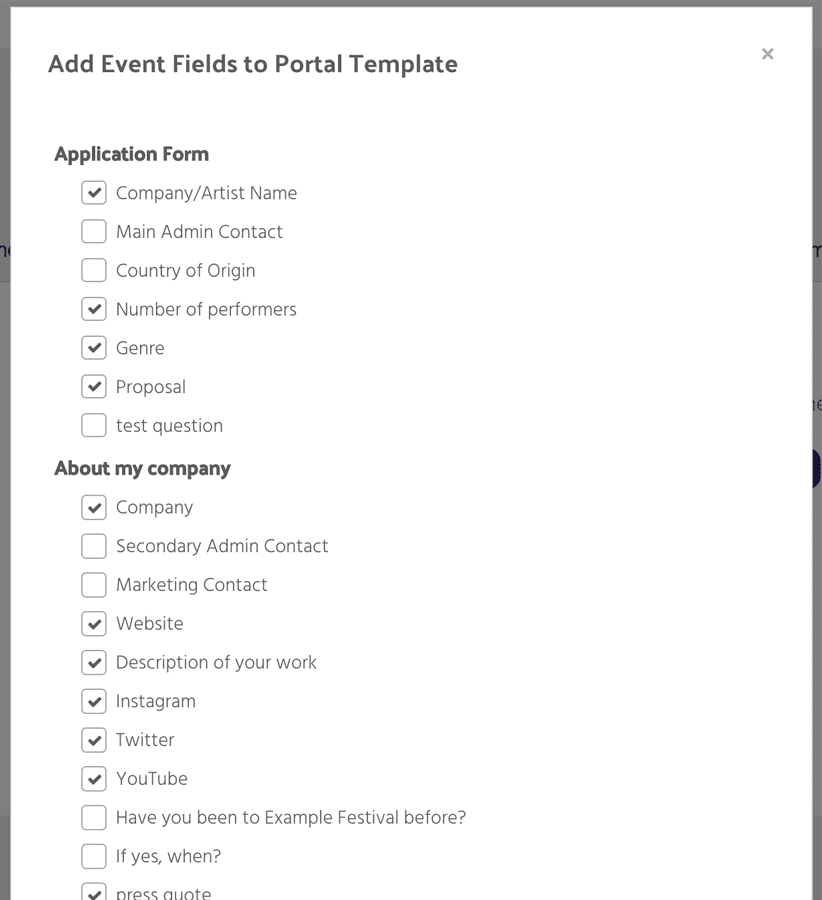
You will see a full list of all your Info Collection questions. Tick those that you would like included in the portal, scroll down and click Add Fields at the bottom of the pop-up window.
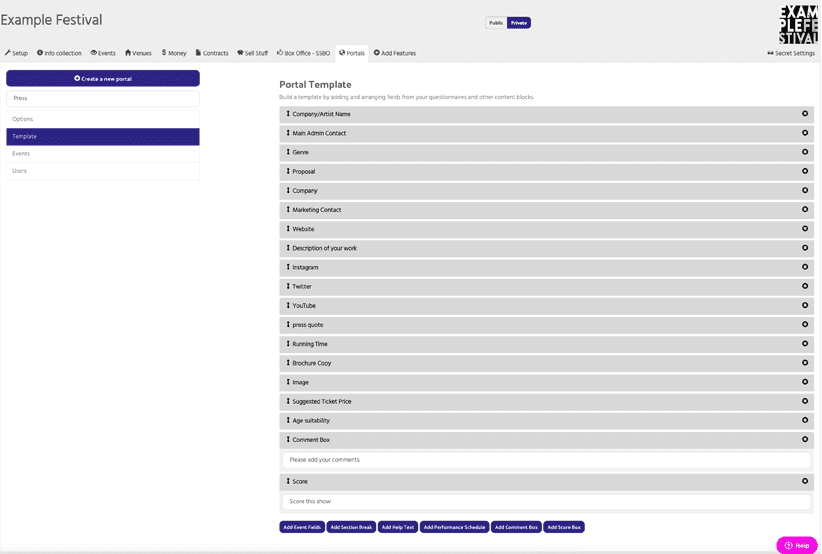
You will now see your selected event fields in your portal template. You can change the order by simply dragging and dropping. Delete those you don’t want using the cross icon.
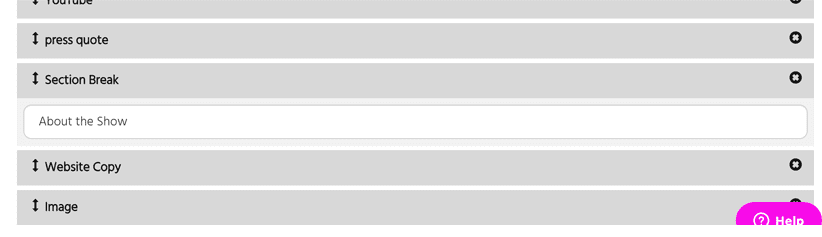
Add section breaks to spilt up the information with headings
Add help text where required to give further details:

Add performance schedule allows you to share the performance schedule for each event:

Add comment box – this allows your users to add comments to specific events.

Add score box – This allows your users to score events in your portal. A useful feature if you have a judging panel looking at applications.

Events
Tick all the events you wish to share within the portal

Users
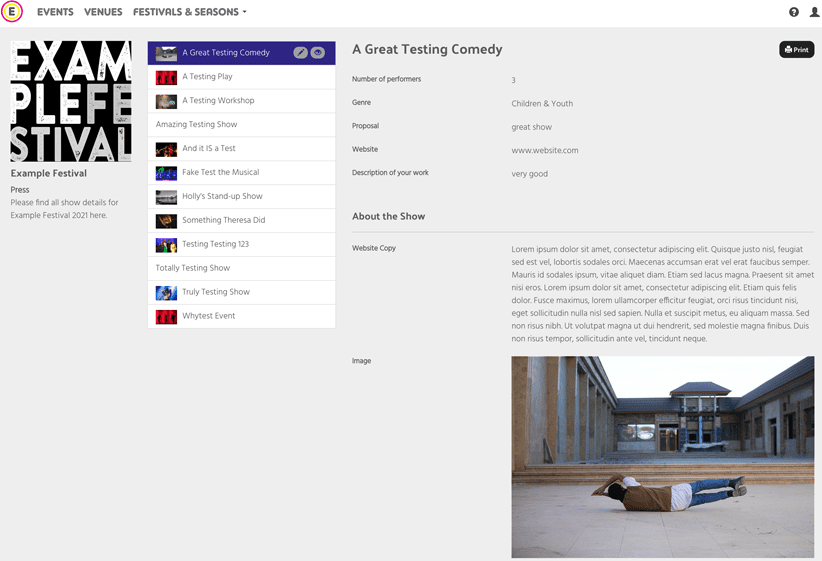
Follow the link to see how you have set up your portal template.
Add users and then send them the portal link to give them access.
You will see user activity in the Portal events section. If you are asking users to comment and or score events in the portal – you will see responses here:
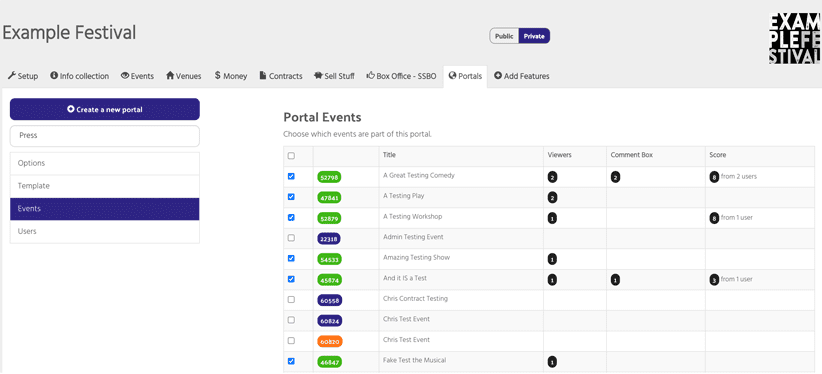
Click on the black comment box numbers to read the comments from users. The numbers in the score column are the average of scores given. Hover over the black numbers in the score column to see which users have scored.
That’s it. You can create multiple portals for different user groups.
Setting up a portal for venue managers
If you want to restrict what venue managers can access from events within your festival or season you can create a venue manager portal. This means you can choose exactly what Venue managers can see about the event without them being able to edit information. This is useful for seasons or festivals that handle all the scheduling themselves.
Once you have created a venue manager portal (following the instructions above) go to the Setup tab in the management dashboard and click Options
Scroll to Event Access for Venues. Here choose your newly created portal from the dropdown.

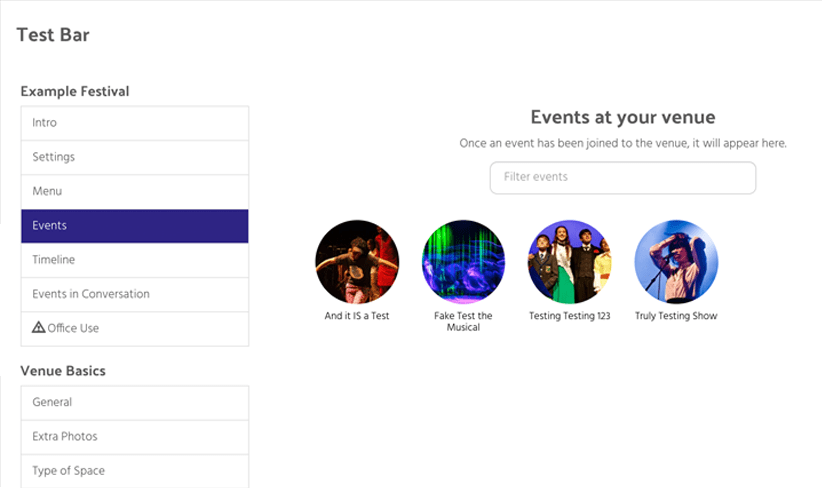
Now when your venues click on events that have been programmed into their spaces, they will see the Venue Hosts Portal view of the event: